7 Tips for Choosing the Best Home Depot Plywood
Choosing home depot plywood is less about grabbing the smoothest sheet and more about matching its grade, thickness, and exposure rating to the job. A cabinet side, subfloor, and outdoor shed wall face very different demands. One wrong choice can mean extra sanding, visible voids, or swelling after a leak. Small details matter.
The U.S. Census Bureau reported construction spending at a seasonally adjusted annual rate of about $2.15 trillion in December 2024. That figure reflects a vast building market, but it does not tell shoppers which panel to buy. For that, technical references are more useful. The USDA Forest Products Laboratory’s Wood Handbook explains how moisture affects wood, while APA guidance covers panel grades, span ratings, and exposure classifications. These references help make product labels less mysterious. They also remind buyers that “exterior” and “waterproof” are not interchangeable.
Before choosing a sheet, check its intended use, actual thickness, face quality, core, and storage condition. Look closely at edges for gaps, and inspect the surface under store lighting. A smooth face can still hide a weak core. Home Depot’s available brands and sizes may vary by location, so confirm the product label rather than relying on a shelf description. This guide offers seven practical checks for comparing options. No checklist can replace matching the panel to the project—or asking for help when the label is unclear. That part is easy to overlook.
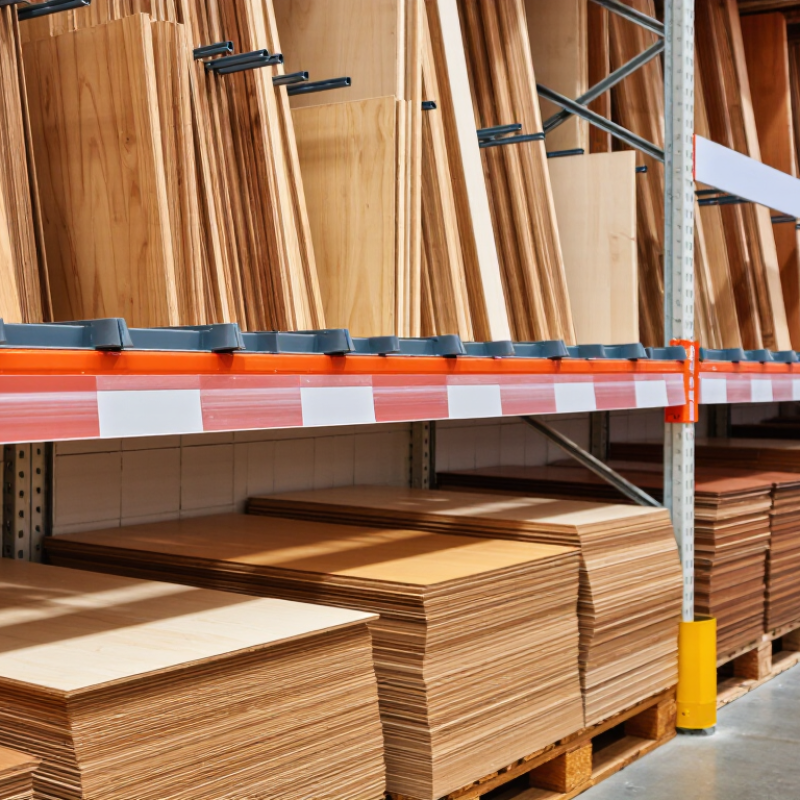
Understand Plywood Grades, Core Types, and Common Uses
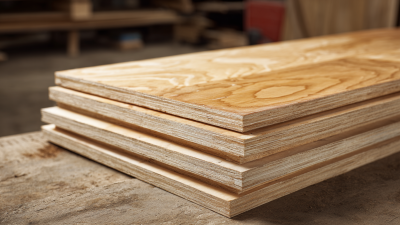
Tip: Read the grade as a clue to surface quality, not a guarantee of strength. Higher face grades usually have fewer visible knots and patches, making them suitable for painted cabinets or shelves. Lower grades may show repairs and rougher grain. Check the panel stamp and local grading details; standards can vary. A clean face is not always the right choice.
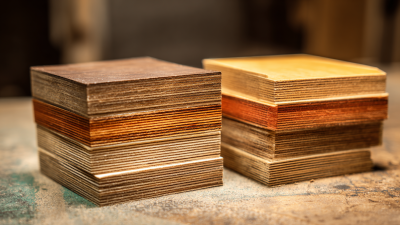
Tip: Compare core types before choosing. Veneer-core panels are common and relatively light, while lumber-core options can hold screws well near edges. Some panels use composite cores for a smoother, flatter surface. Look closely at the edge for gaps or loose layers. Feel the edge. I once focused too much on the face and missed a rough core.
Tip: Match the panel to its use and the room. For indoor furniture, check thickness, flatness, and the intended finish. For damp locations, confirm the panel’s exposure rating and adhesive information; “exterior” does not mean waterproof. Support long shelves to reduce sagging. Carry a tape measure, and inspect corners for damage before buying. A small defect can matter.
Match Sheet Thickness and Dimensions to Your Project
Plywood thickness and sheet dimensions should match the loads, supports, and finished size of your project. A standard 4-by-8-foot sheet is convenient for large panels, but it may be awkward in a small room or difficult to handle alone. Measure the path through doorways, too. A sheet that fits the plan may not fit the workspace.
Thickness affects stiffness, weight, and how securely screws hold. For a shelf, consider its span and expected load; a long, unsupported shelf may sag even when the panel looks sturdy. For cabinet sides or drawer bottoms, check the plans before choosing a thinner sheet. Measure twice. Then check the product label, since listed thickness can differ slightly from the actual measurement. That small difference matters where panels meet flush.
Make a cut list that includes every panel’s finished dimensions and the saw’s kerf—the material removed by each cut. This is easy to overlook, even with a careful plan. Leave room for trimming rough edges, and orient the face grain consistently when appearance matters. If you are unsure about the span or fit, test the layout with cardboard or scrap before cutting.
Compare Indoor, Exterior, and Pressure-Treated Options
Tip: Match the plywood to the room. For cabinets, shelves, or a workbench kept indoors, interior-grade panels are usually the practical choice. They are made for dry conditions, not repeated spills or damp garages. Check the panel’s face grade if appearance matters; a smooth surface saves sanding time. Small details count.
Tip: For patios, sheds, or other exposed projects, choose exterior-rated plywood. Its bonding is designed to handle moisture better, but that does not make the panel waterproof or suitable for constant soaking. Seal exposed edges when the product instructions recommend it. I would not rely on paint alone to fix the wrong panel choice.
Tip: Pressure-treated plywood is useful where wood faces persistent moisture or ground contact, provided its label allows that use. It can be heavier and may need different fasteners or handling than untreated panels. Read the product guidance, especially for freshly cut edges. A common mistake is buying treated plywood for every outdoor job; sometimes exterior-rated plywood is enough, and easier to work with. Check the panel for warping before loading it.
Choosing Plywood: Common Nominal Thicknesses
Common nominal panel thicknesses include 1/4, 3/8, 1/2, 5/8, and 3/4 inch; actual thickness can be slightly less. Choose the panel’s exposure rating for its location: interior panels are intended for dry conditions, while exterior-rated panels are made for repeated wetting. Pressure treatment helps protect against decay and insects, but does not make plywood waterproof. Product availability varies.
Inspect Panels for Flatness, Damage, and Surface Quality
Lay a plywood panel flat on a level cart or floor and look along its length. A bowed sheet may rock or leave a visible gap beneath its center. Sight across the surface from one corner; ripples and raised patches become easier to spot at a low angle. Check both faces, since a clean front can hide damage on the back. Small bends may seem harmless, but they can complicate cabinet doors, shelves, or other projects that need a straight edge.
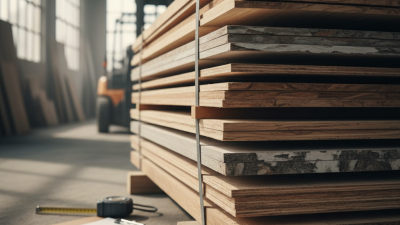
Examine the corners and edges for crushed spots, splits, and layers that are separating. Press gently near a suspicious area; loose veneers can shift or sound hollow. Look for dents, deep scratches, and rough patches that may show through paint or stain. Run your palm lightly over the face, but avoid relying on touch alone. Lighting can hide flaws. Move the panel and inspect it from another angle. Even a careful check cannot reveal every internal defect, and I sometimes find a flaw only after cutting. If the sheet looks twisted or has damage where your cuts must go, choose another panel. A few extra minutes here can save awkward fitting later.
Check Pricing, Availability, and Cutting Services at Home Depot
Compare plywood by grade, thickness, and price per sheet—not price alone. The APA Engineered Wood Association’s panel guidance identifies 4-by-8-foot sheets as a common format, but actual stock and dimensions can vary. Check the product label and ask whether the listed price applies to one sheet or a larger quantity. The U.S. Bureau of Labor Statistics publishes monthly producer price indexes for plywood, a useful reminder that material costs change over time. Your local shelf price may not track that index exactly. Check again before making a long drive.
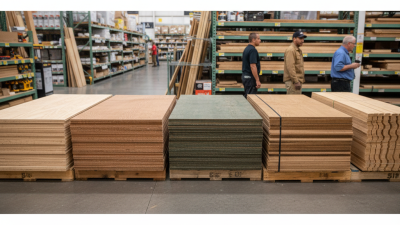
Availability matters when a project needs matching sheets. Call the store and confirm the grade, thickness, quantity, and pickup location; an online listing may not reflect the shelf. Ask about cutting services before buying. Staff may make rough cuts for transport, but store equipment and policies differ, and fine cabinet cuts may need a workshop. Bring a simple cut list with finished dimensions. Remember the saw removes a narrow strip of material with each cut. Small detail, real consequence. I once underestimated that loss and had to rethink a panel layout. Check whether cuts are limited in number or precision, and inspect each sheet for bowed edges, damaged corners, or surface flaws before checkout.